
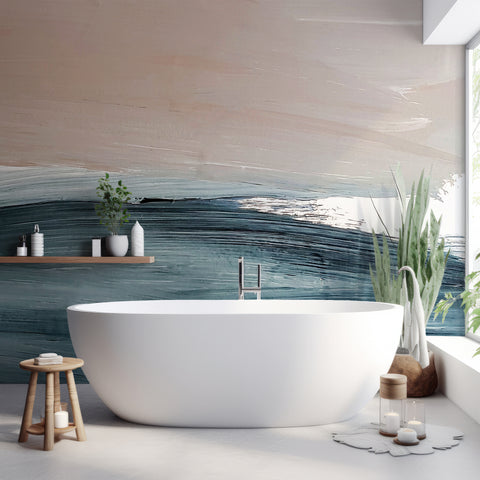
Are you tired of looking at outdated tiles in your home? Do you want to give your space a fresh new look without the hassle of removing the tiles? Wallpapering over tiles is a great solution, but it requires some special considerations. In this article, we'll walk you through the process of preparing your tiles, choosing the right wallpaper, and applying it successfully.
Can You Wallpaper Over Tiles?
The answer is not a simple yes or no. It depends on various factors, including the texture, condition, and moisture levels of your tiles. Before you start, evaluate these factors to determine if wallpapering over tiles is feasible for your project.
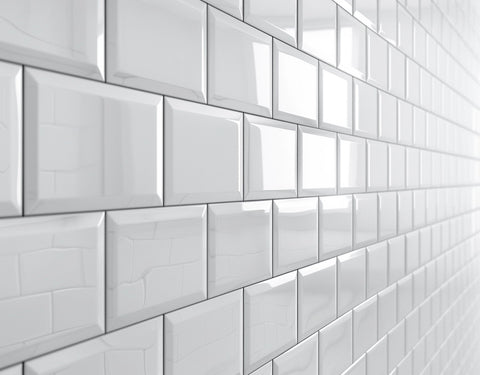
- Tile texture: Smooth, flat tiles are ideal for wallpapering. If your tiles have deep grout lines or are heavily textured, you may need to sand or fill them in to create a smooth surface.
- Tile condition: Make sure your tiles are firmly attached to the wall. Any loose or chipped tiles can affect the overall finish and longevity of the wallpaper.
- Moisture levels: Wallpapering over tiles can work well in areas with lower moisture levels. However, high-moisture areas like showers or areas directly above a sink or stove may not be suitable.
- Ventilation: Ensure good ventilation in the room to reduce moisture build-up and prolong the lifespan of the wallpaper.
- Temperature stability: Avoid areas with extreme temperature fluctuations, as this can cause the wallpaper adhesive to fail.
Preparing Your Tiles for Wallpapering
Proper tile preparation is crucial for a successful wallpapering project. Here are the steps to follow:
- Clean and degrease the tiles: Use a mild detergent and a sponge to remove dirt, grime, and soap scum. For tougher residues, use a non-abrasive cleaning solution.
- Rinse and dry the tiles: Rinse the tiles with clean water and let them dry completely before proceeding.Sand the tiles: Use a sanding block or fine-grit sandpaper to lightly sand the entire tile surface. This helps create a more porous surface for the wallpaper adhesive to bond to.
- Check and repair loose tiles: Inspect the tiles for any loose or broken ones. Fix them using a tile adhesive and a putty knife.
- Fill in the grooves: Use a spackling paste to fill in the grooves between the tiles. Sand it down to a smooth finish and clean away any dust or debris.
Choosing the Right Wallpaper for Your Project
At Wallpaper Mural, we have three types of wallpaper that are suitable for wallpapering over tiles:
- Traditional Wallpaper: Our traditional wallpaper is a great option for long-term durability and vibrant color. It requires wallpaper paste and is suitable for both domestic and commercial projects.
- Heavy-Grade Wallpaper: Our heavy-grade wallpaper is ideal for high-traffic areas. It's waterproof, wipeable, and resistant to scuffs and scrapes.
- Removable Vinyl: Our removable vinyl is perfect for water-resistance and textured walls. It's durable, waterproof, and has a luscious crystal-matte finish.
If you're looking for a more traditional, long-term solution, our Traditional Wallpaper or Heavy-Grade Wallpaper may be the best option for you. However, if you're looking for a more flexible, removable solution, our Removable Vinyl could be the way to go.
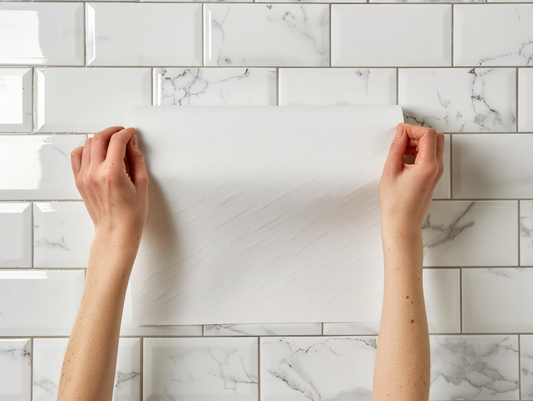
Applying Wallpaper Over Tiles
Once you've prepared your tiles and chosen the right wallpaper, it's time to apply it. Here are the general steps to follow:
- Measure your walls and determine wallpaper needs: Use a tape measure and straight edge to determine the amount of wallpaper needed.
- Apply adhesive: Apply a uniform layer of wallpaper adhesive directly onto the wall or the wallpaper using a brush or roller.
- Install wallpaper: Align the wallpaper at the top of the wall, leaving an extra bit for trimming. Smooth out any bubbles with a wallpaper smoother.
- Trim excess: Trim the excess wallpaper at the top and bottom for a clean finish using a straight edge and a sharp utility knife.
- Smooth out seams: If your wallpaper has seams, use a seam roller to smooth them out gently.
- Clean up: Use a sponge and clean water to remove any excess adhesive from the installed wallpaper and surrounding surfaces.
Common Mistakes to Avoid
Wallpapering over tiles can be challenging, but avoiding common mistakes can ensure a successful project. Here are some mistakes to watch out for:
- Insufficient surface preparation: Skipping steps like cleaning, sanding, or failing to fill grout lines properly can cause the wallpaper to peel or bubble over time.
- Applying too much adhesive: Applying too much adhesive can cause issues like warping or seeping through the wallpaper.
- Rushing the process: Wallpapering is a meticulous process that requires patience. Rushing can lead to errors like crooked lines, bubbles, and poor alignment.
- Not considering room conditions: Failing to consider the specific room conditions, such as moisture levels and temperature fluctuations, can affect the longevity of the wallpaper.
By following these steps and considering the unique challenges of wallpapering over tiles, you can achieve a beautifully transformed space that will last for years to come. Remember to choose the right wallpaper for your project, and don't hesitate to reach out to us if you have any questions or need further guidance.